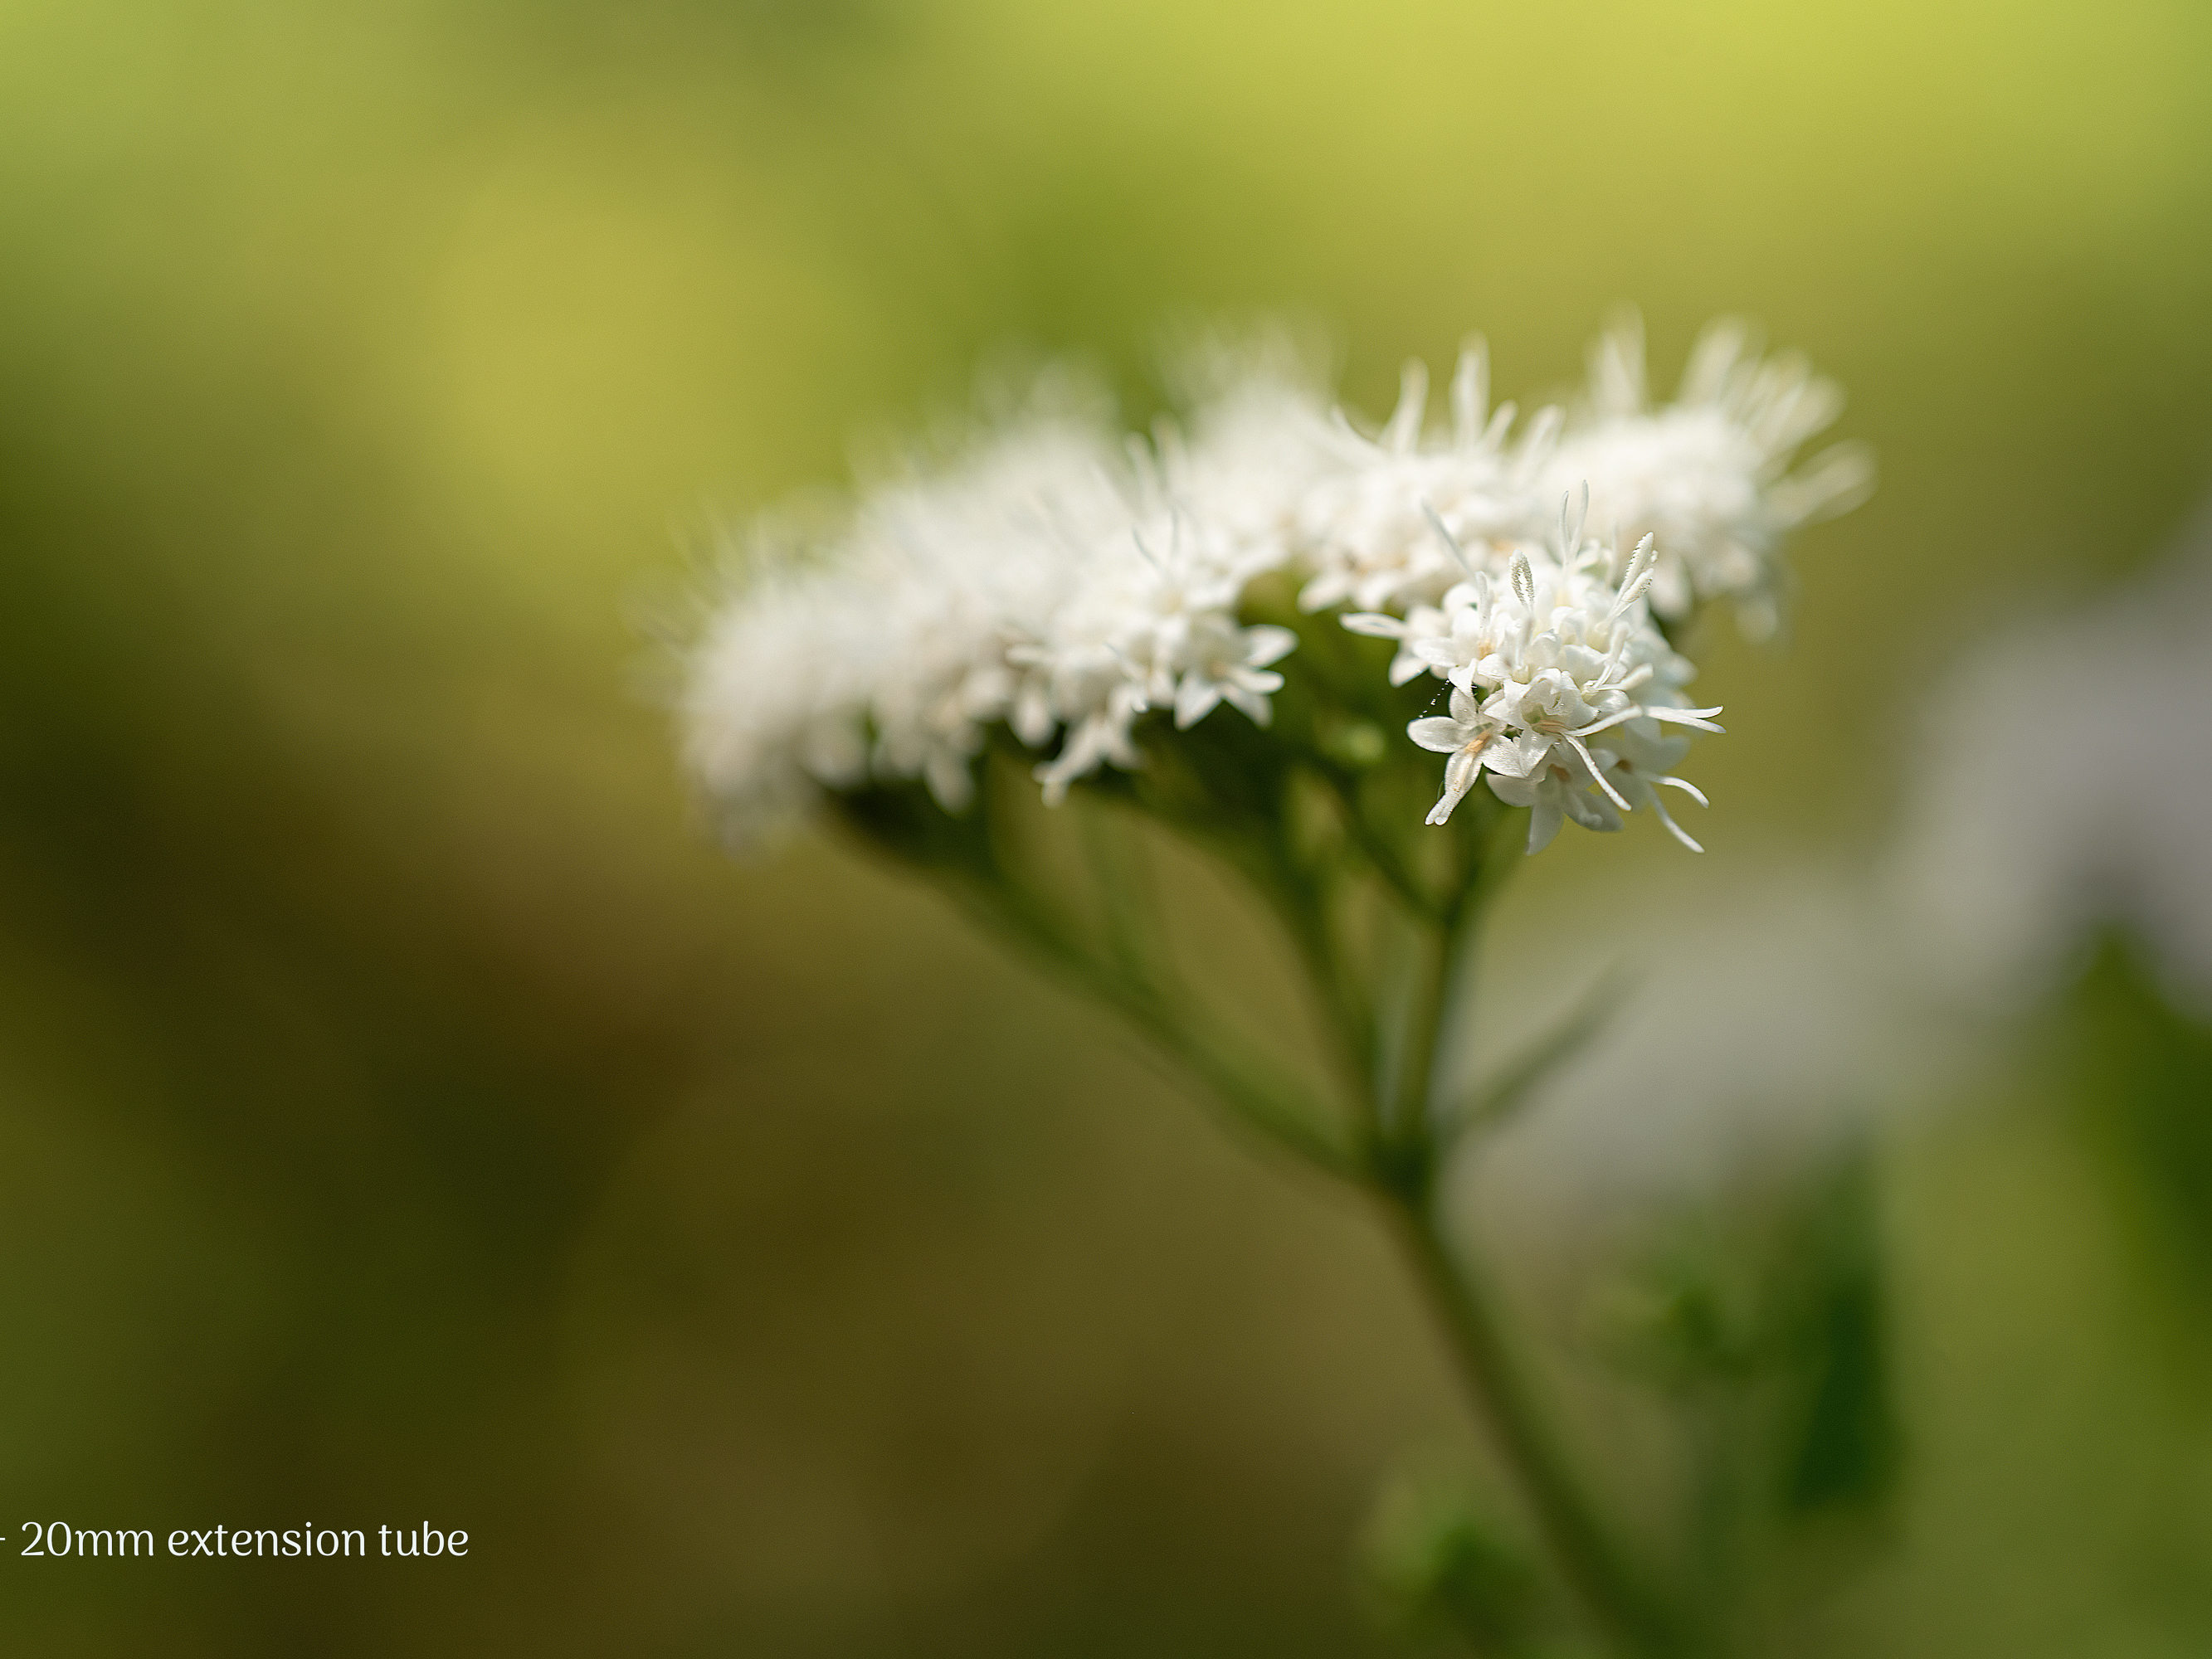
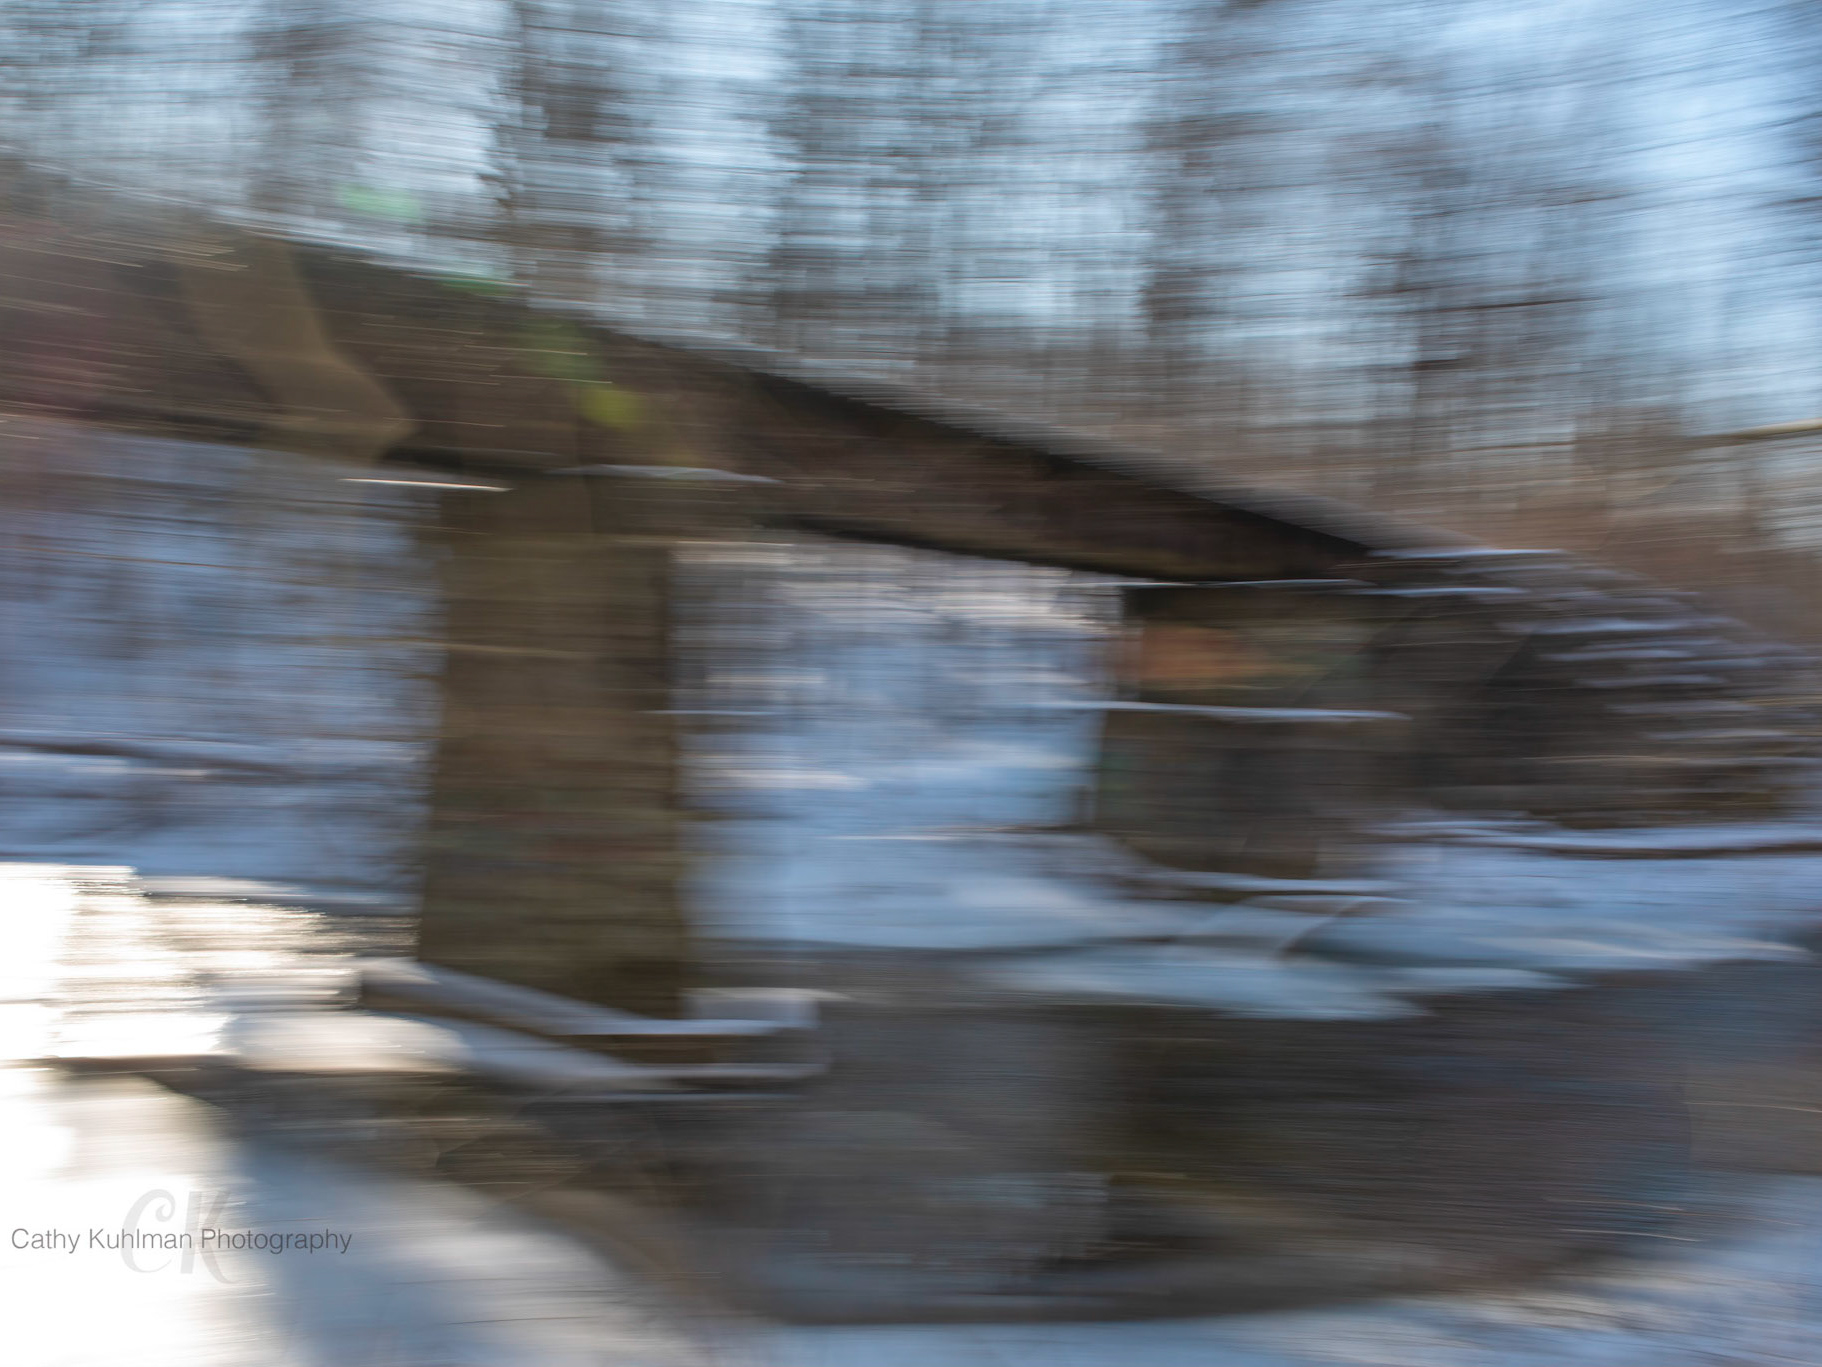
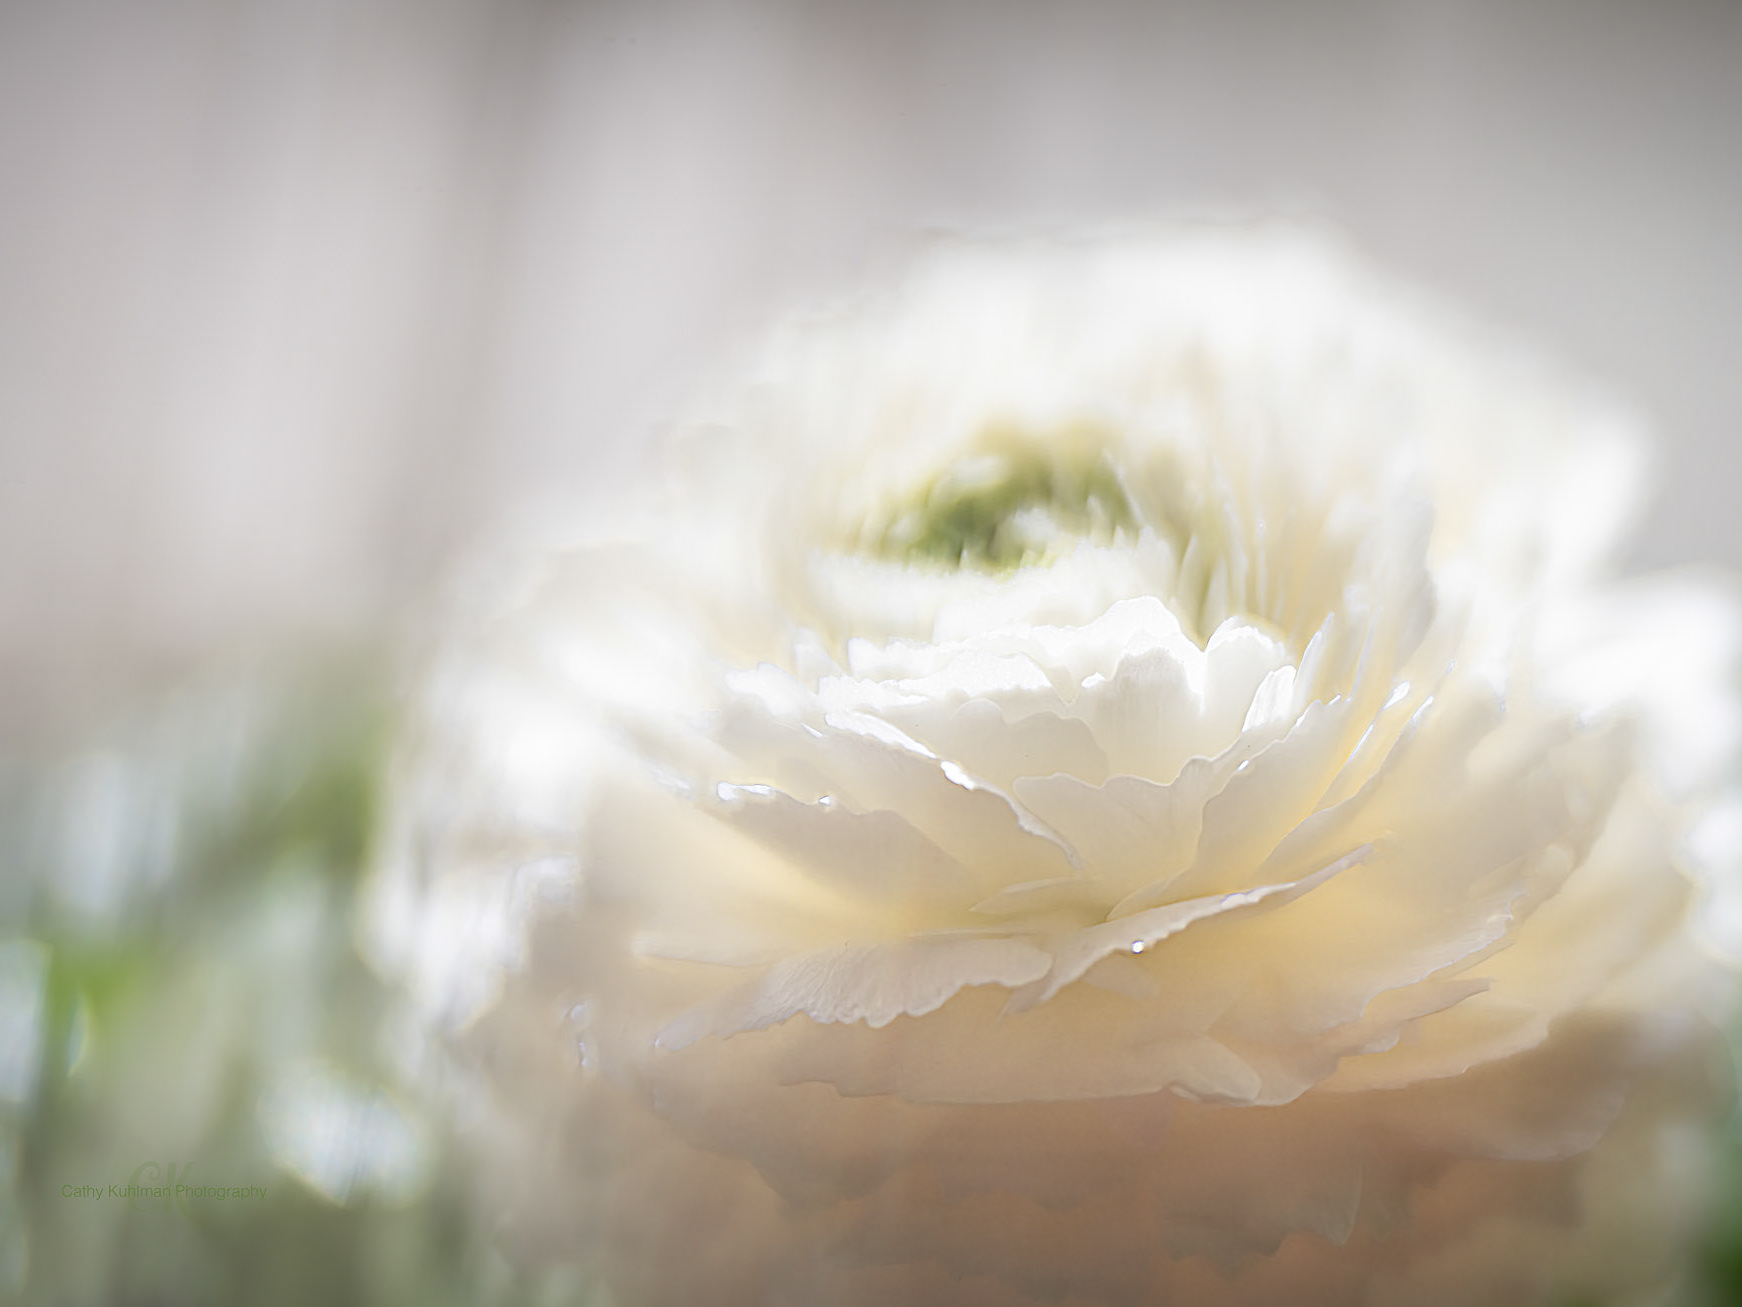
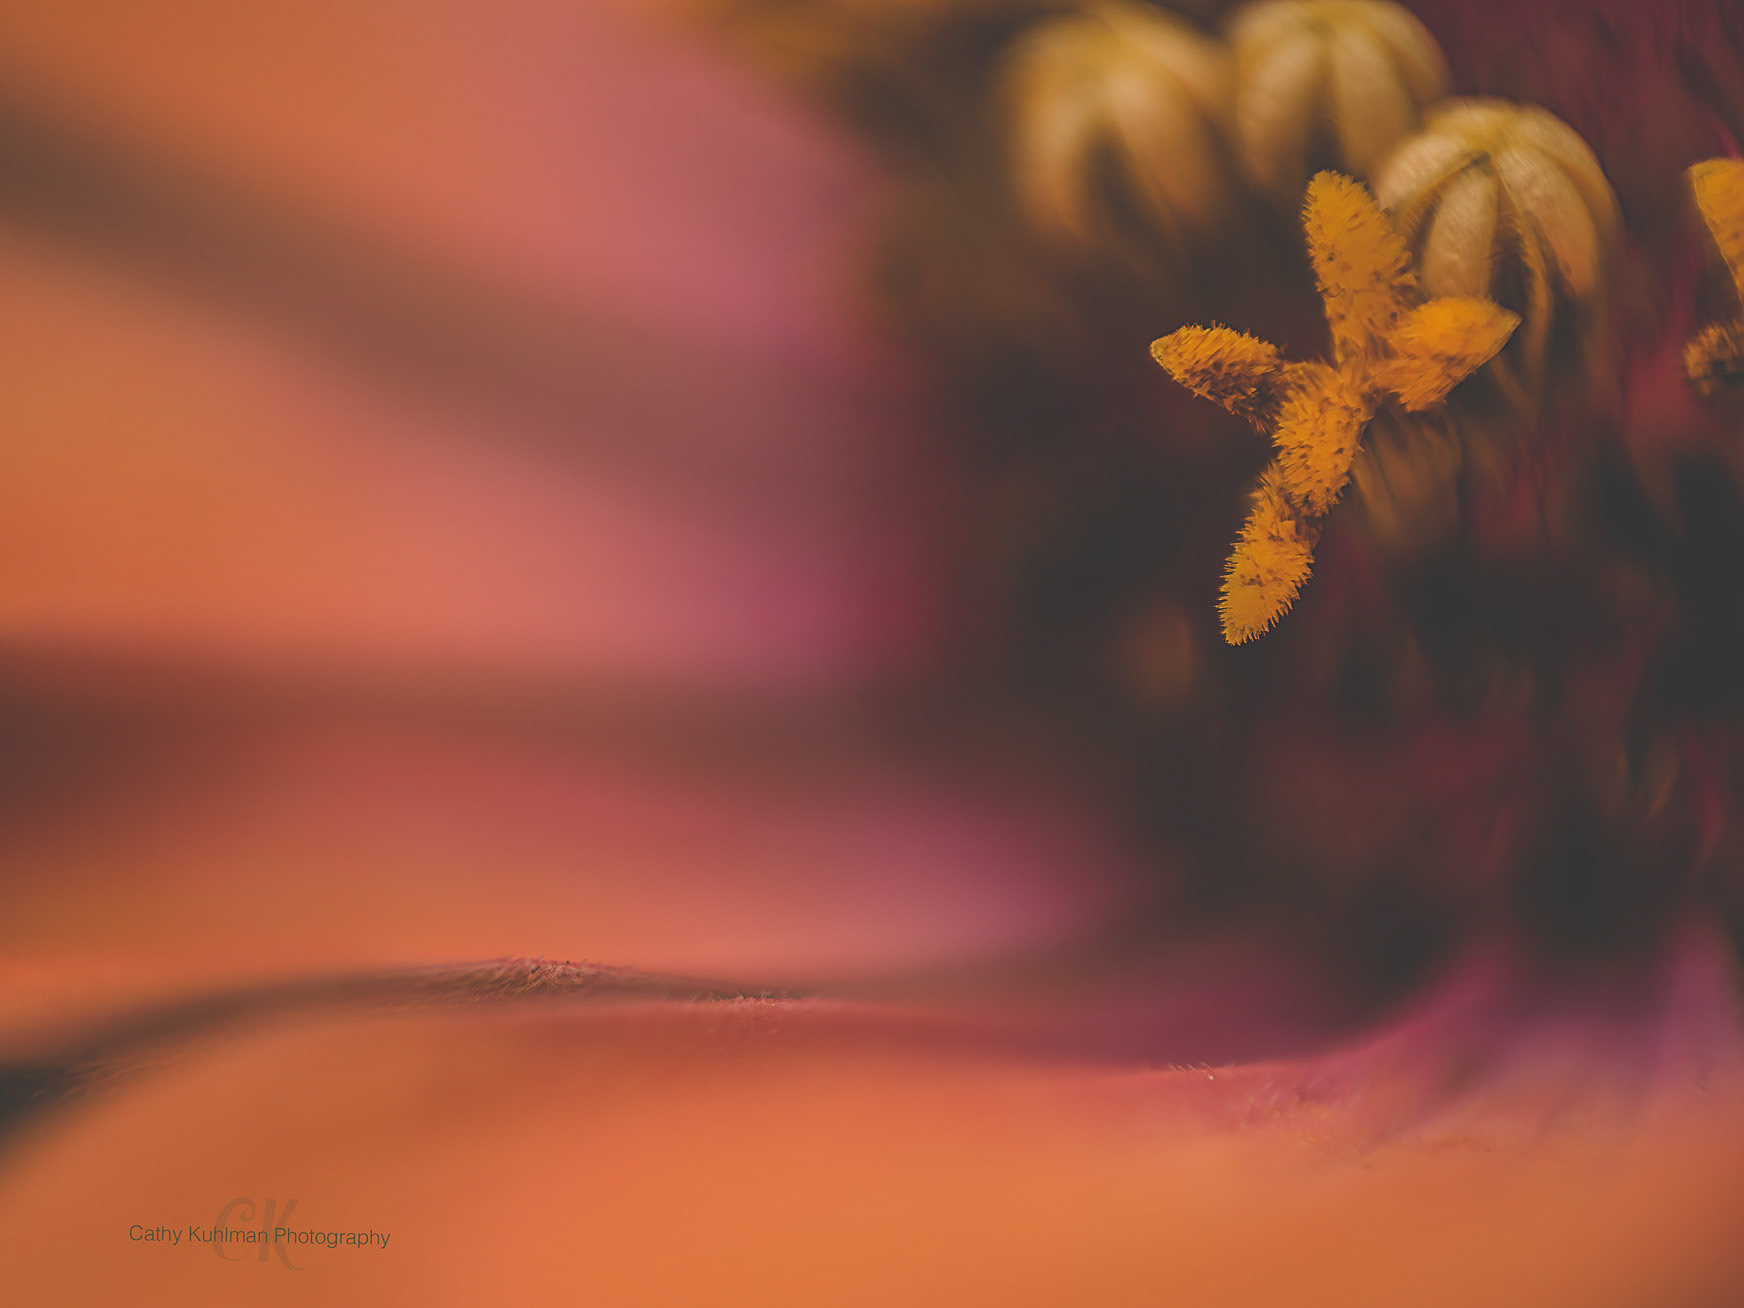
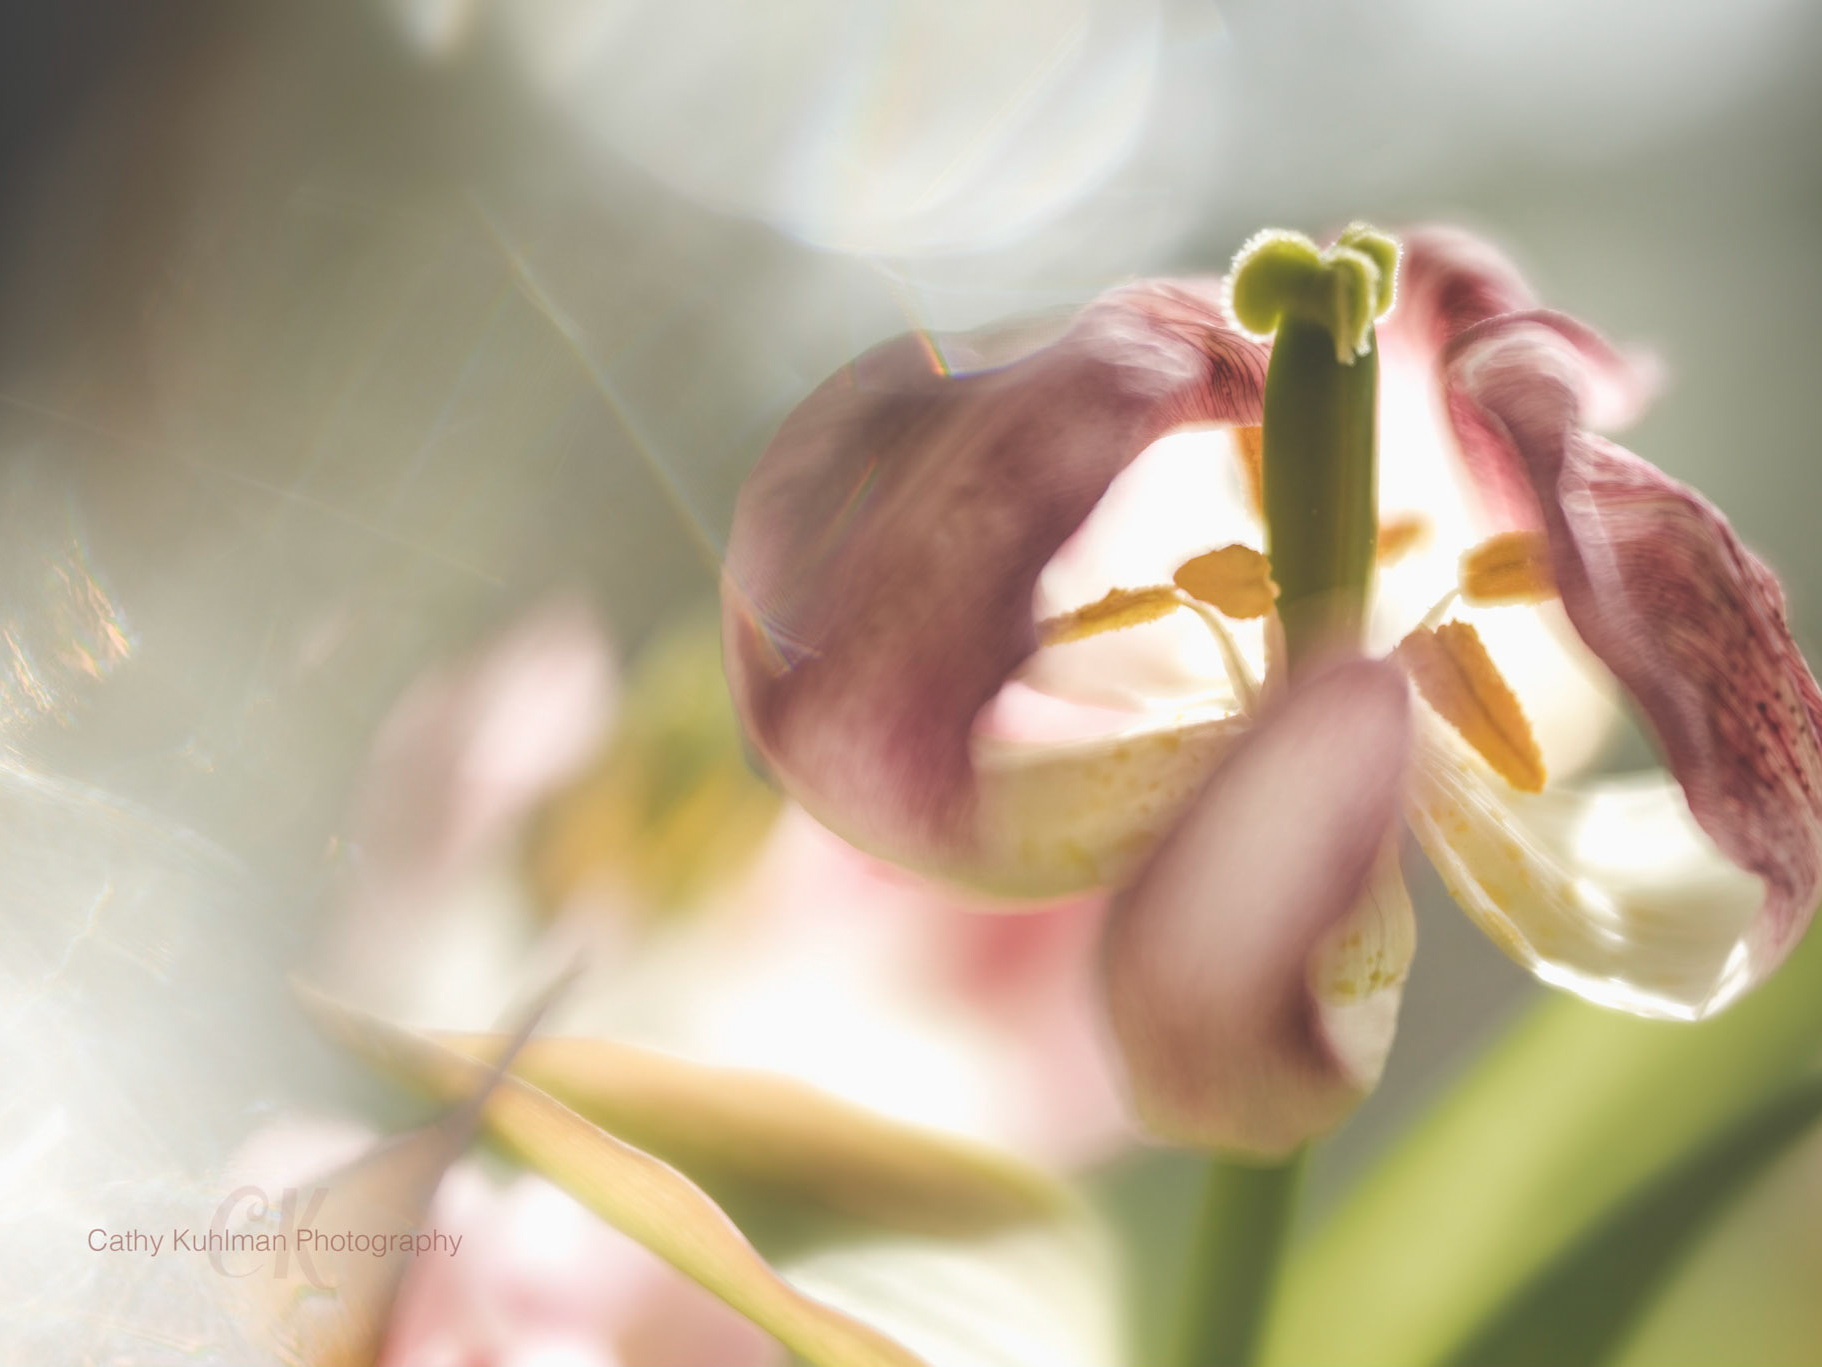
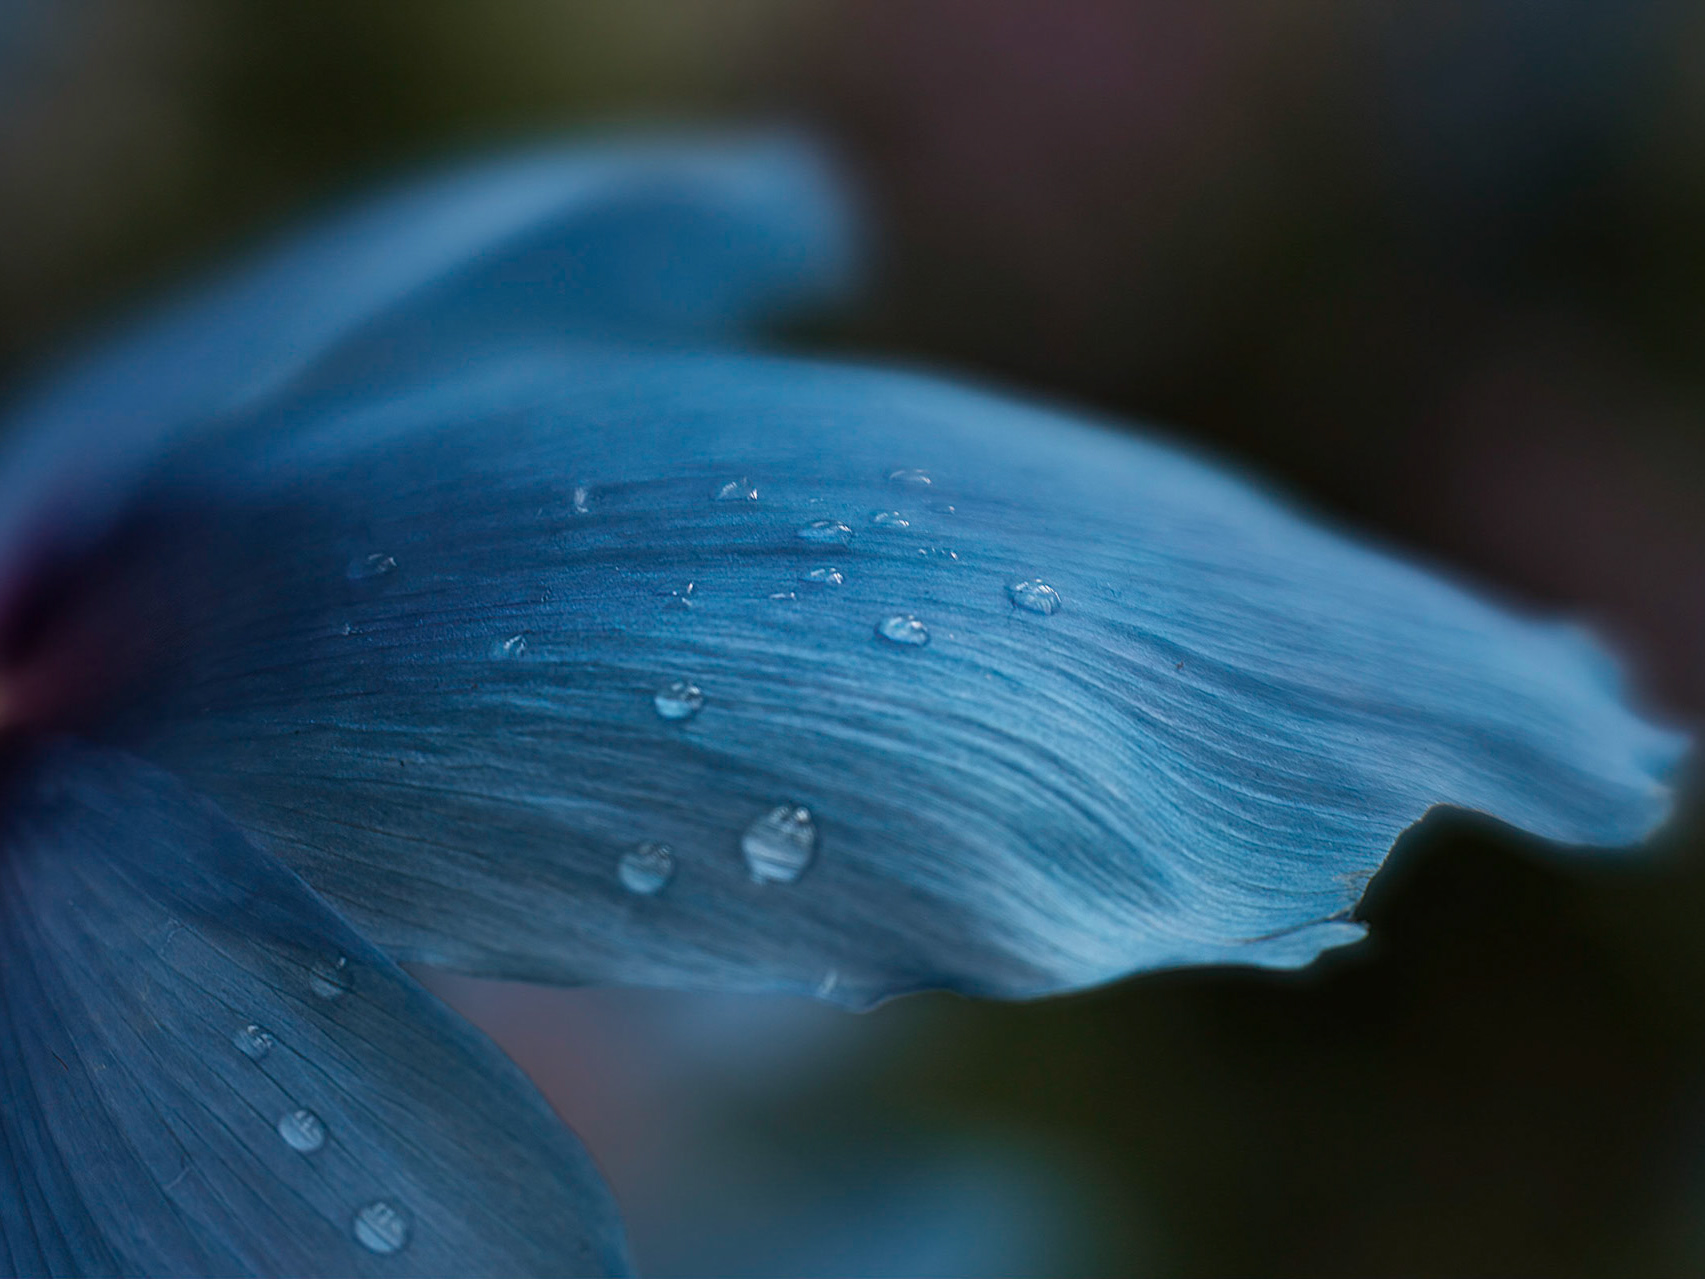
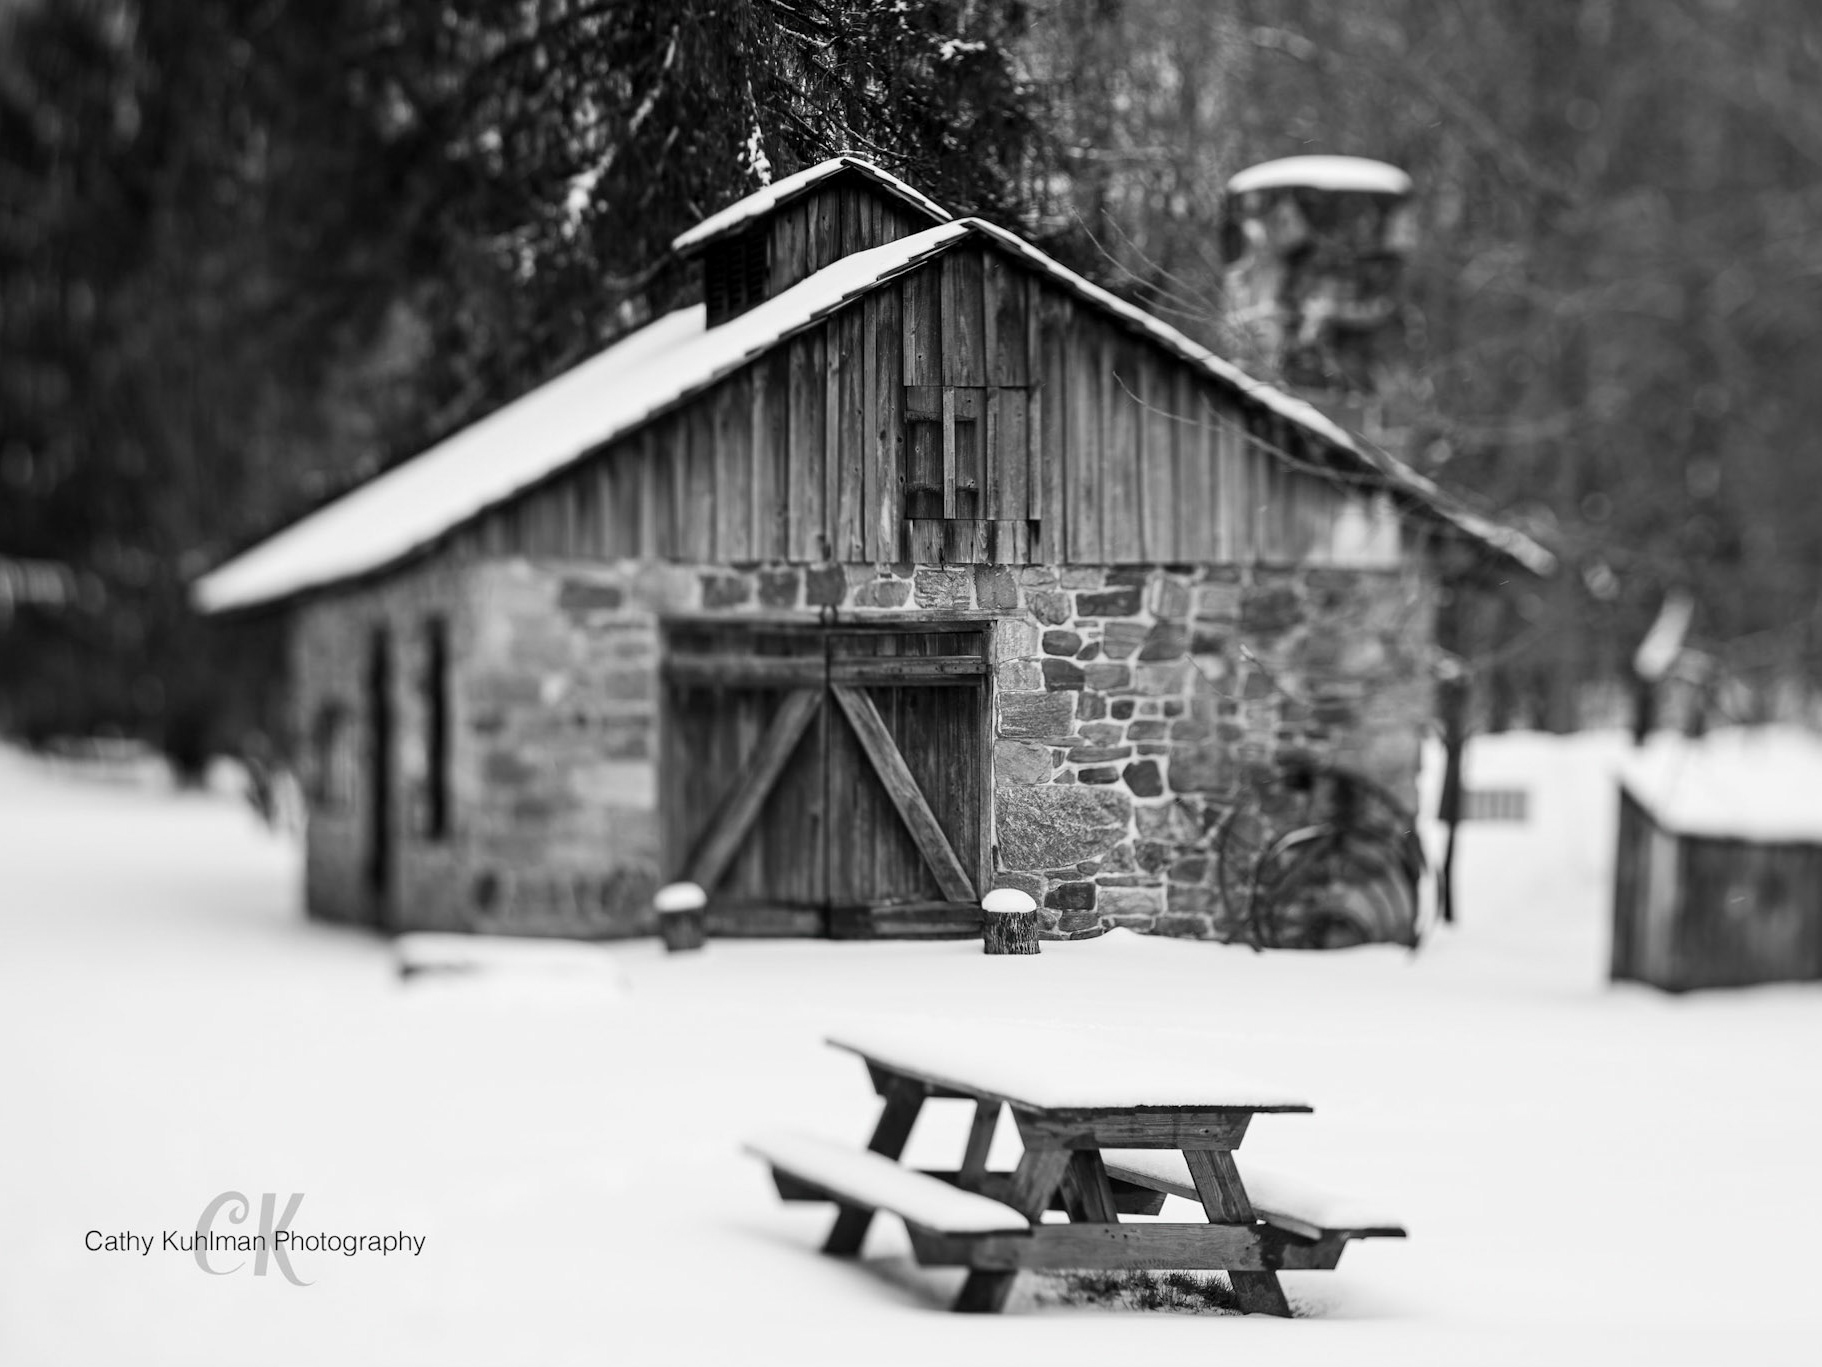
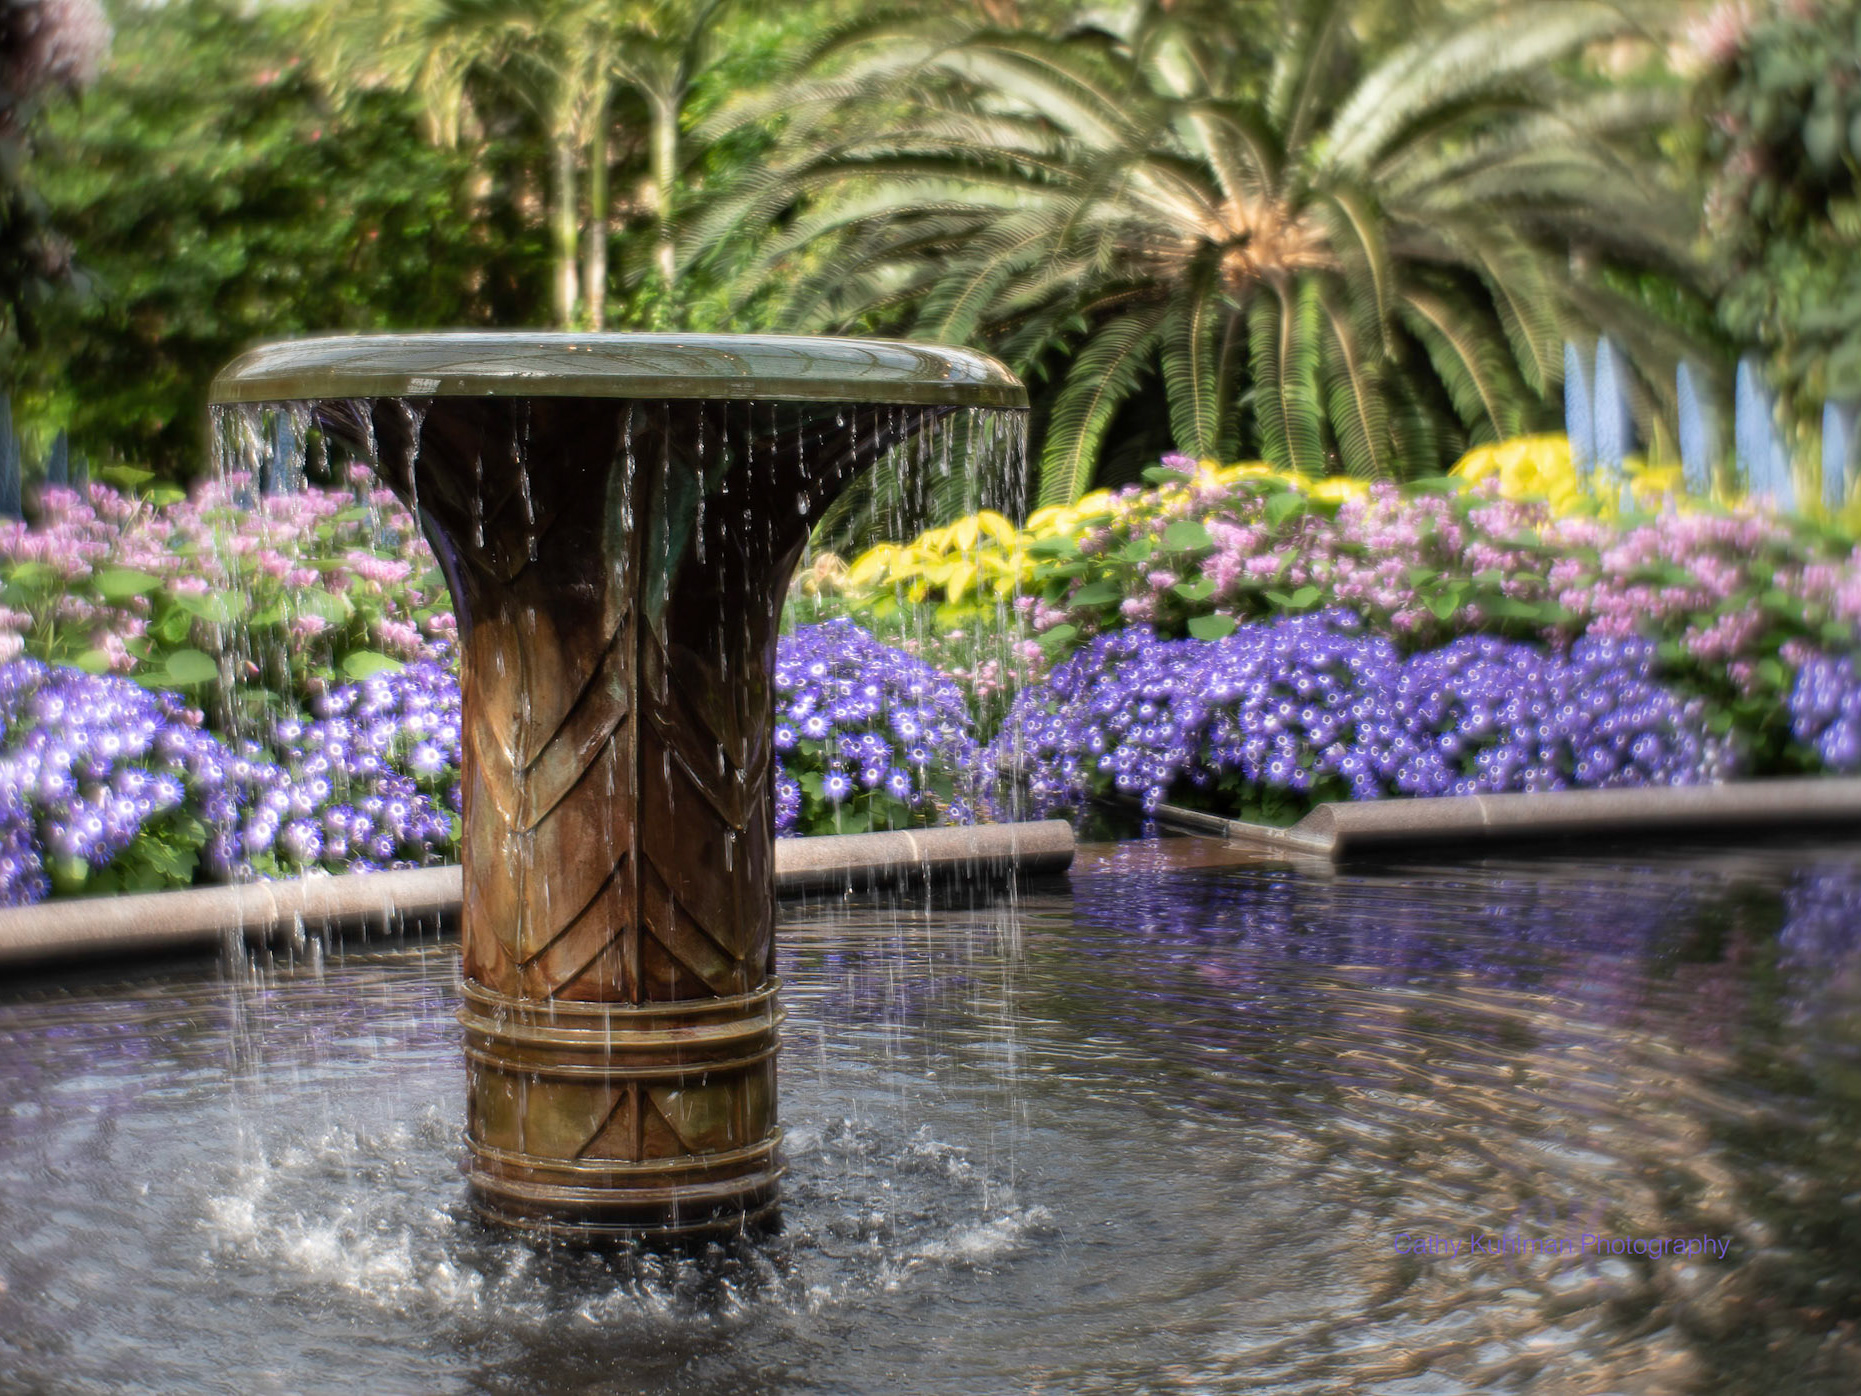
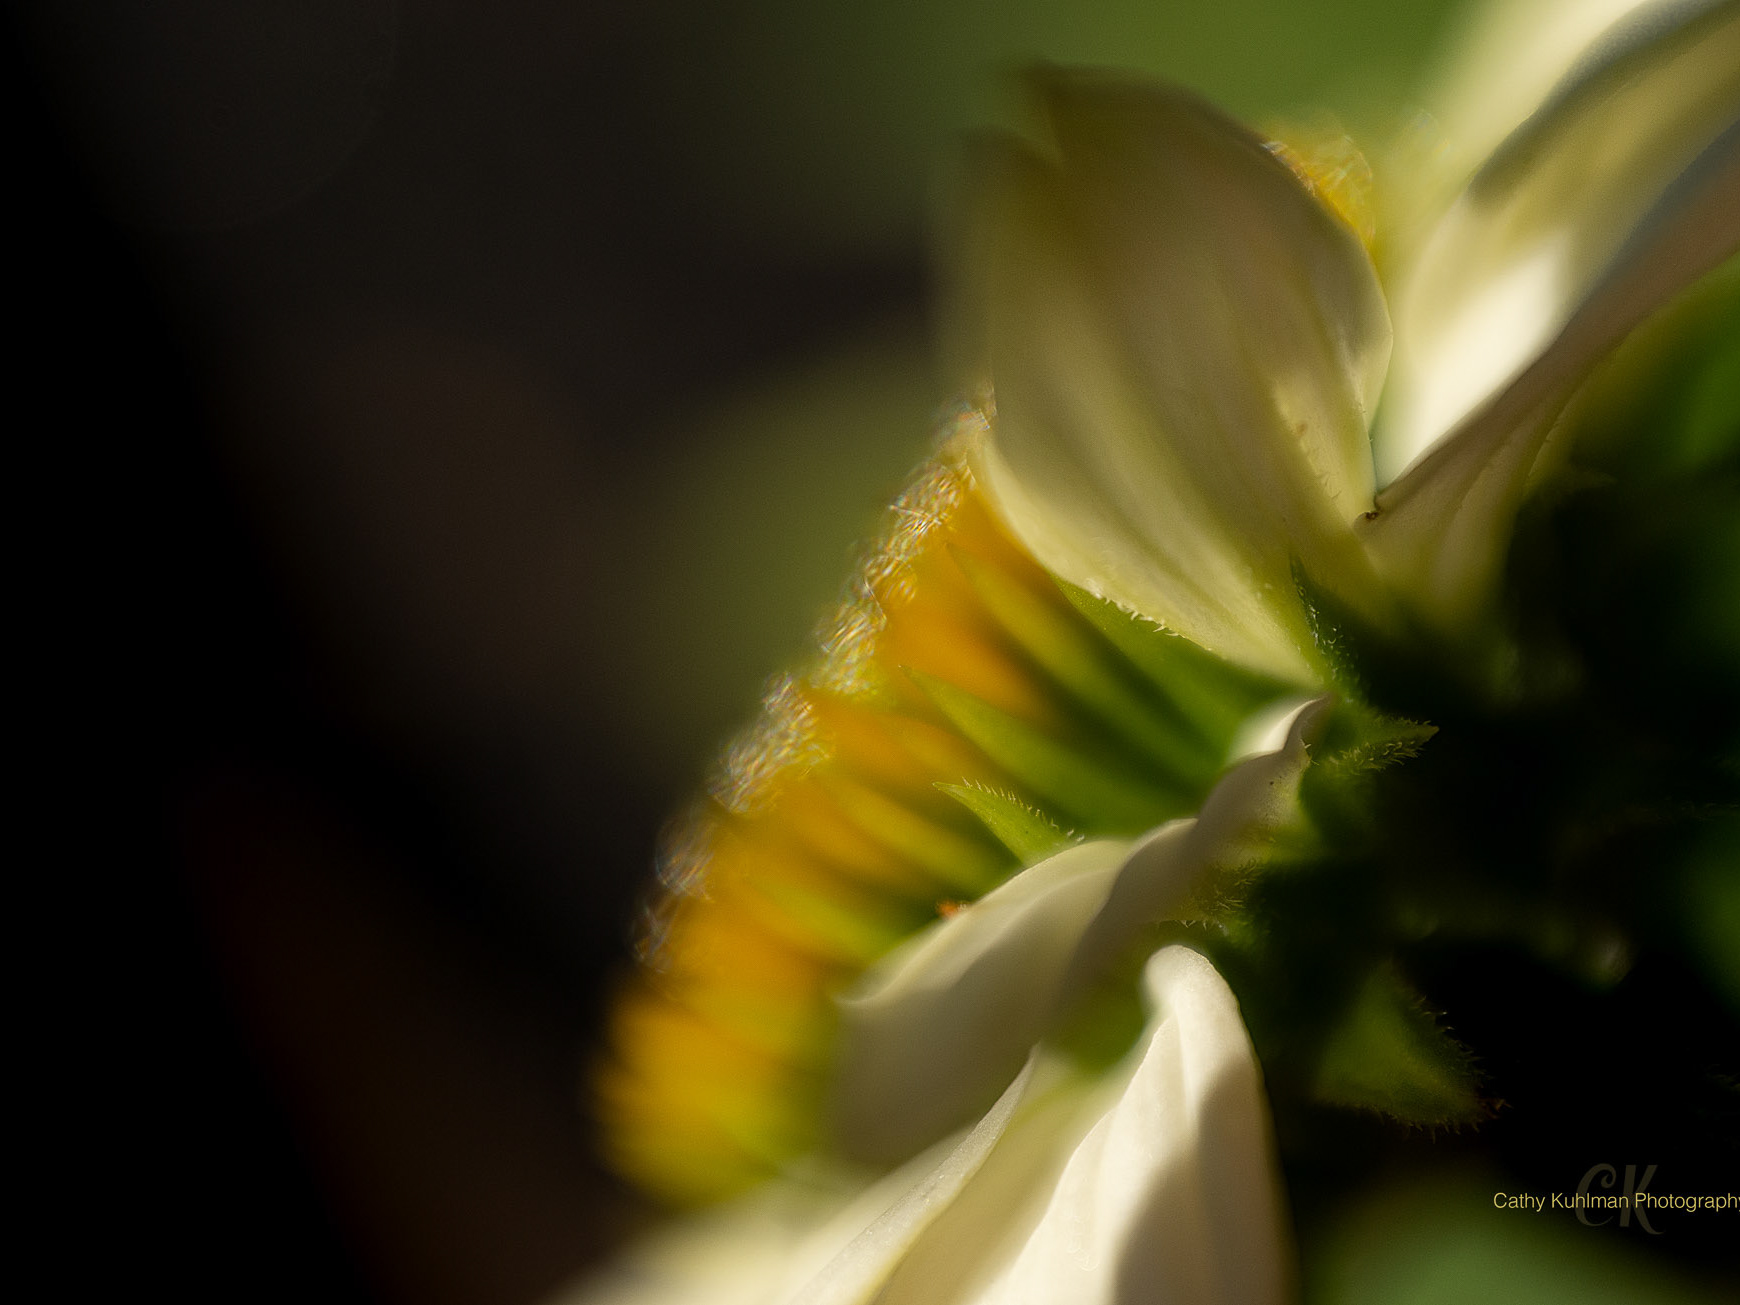
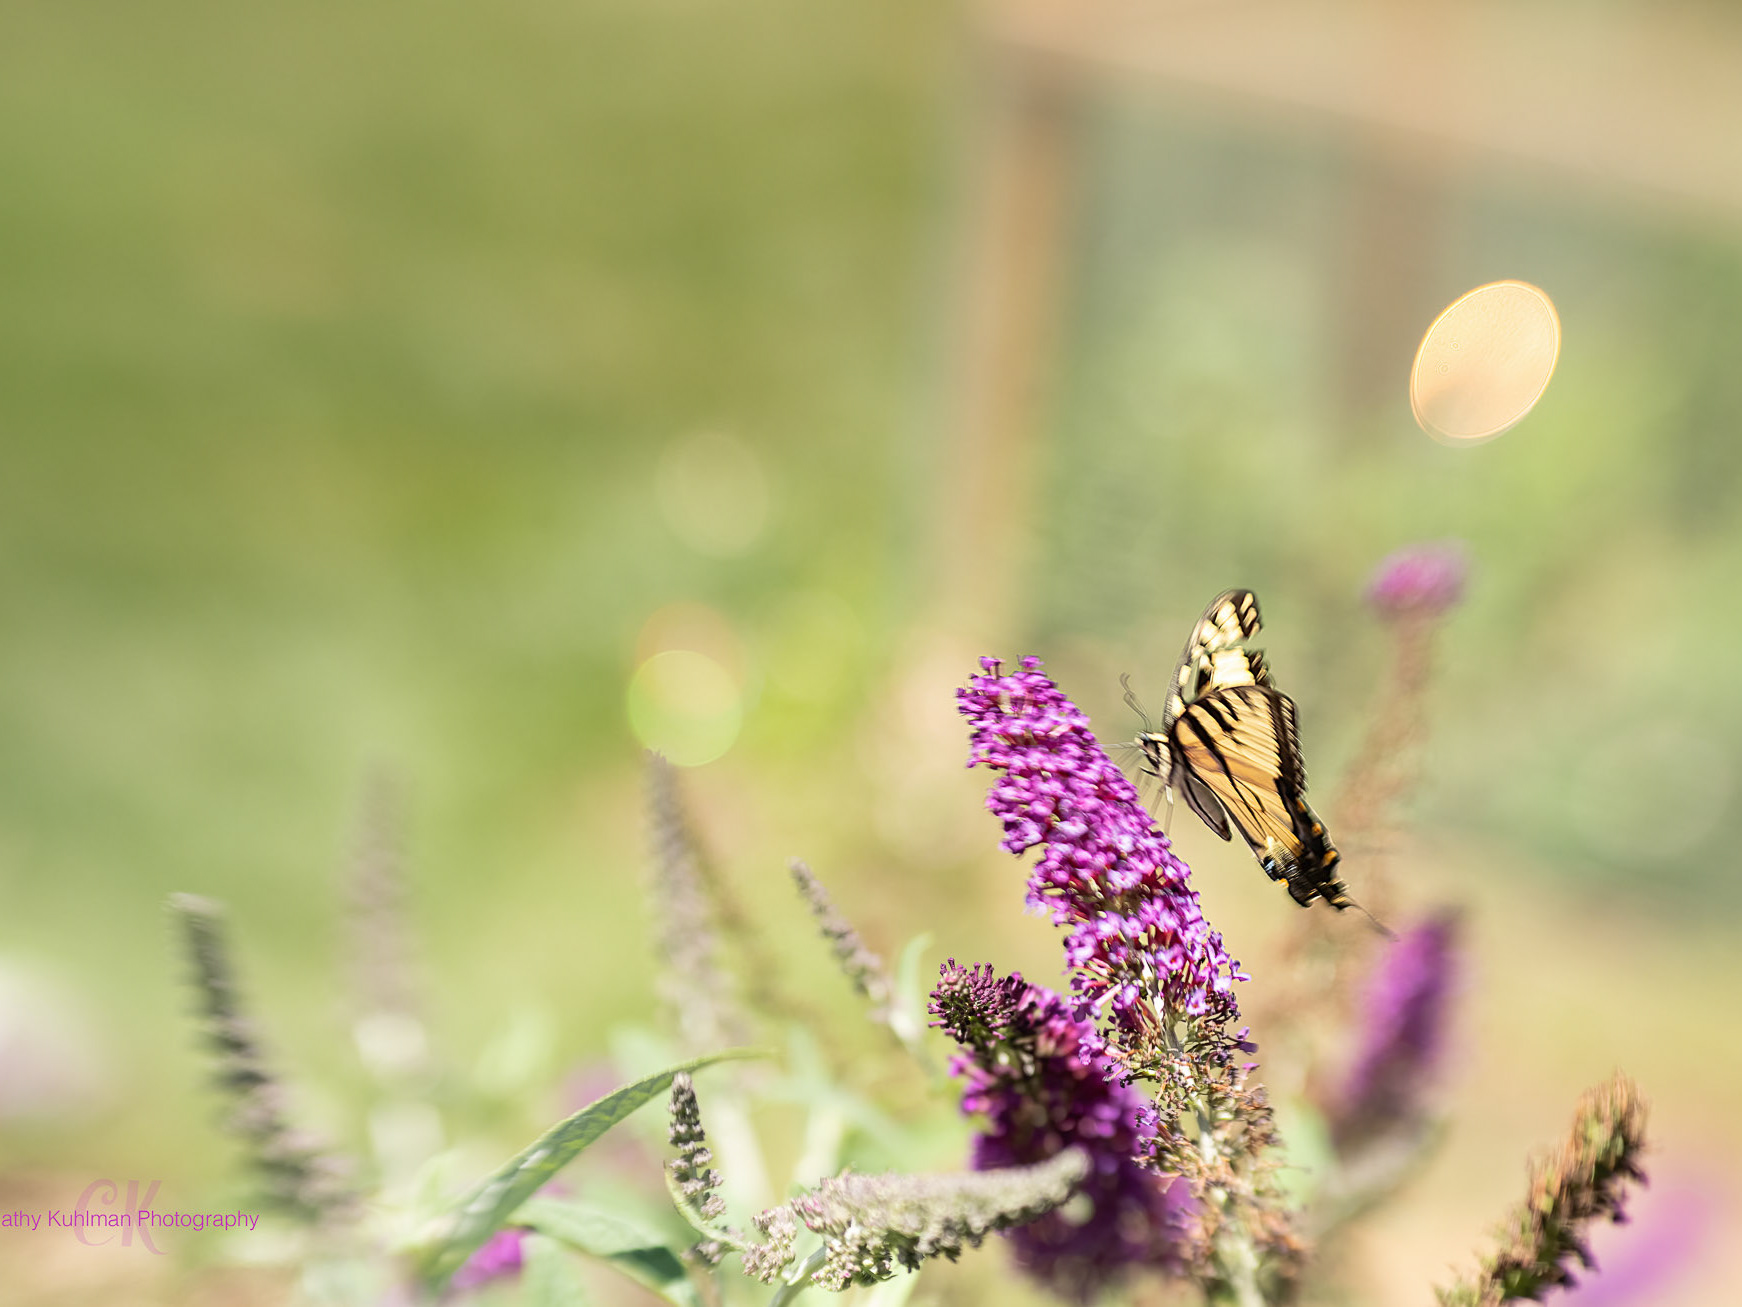
In this section I'll show you exactly how I use some of my Lensbaby lenses and some of the Omni Creative Filter system wands/accessories to create my work.
Before you go further, please note that I do not shoot on a tripod. I shoot hand held. When I shoot with my DSLR I have to use the screen on the back of my camera which makes hand holding must less stable. There is camera shake. It cannot be avoided if I want you to see what I see.
These videos are informational only.
Sol 45 unboxing and examples!
In this video, I'll share the unboxing of the Lensbaby Sol 45 and you'll see examples of images I've created using this lens!
My Favorite Lensbaby and How I Like to Create with it!
Below are two videos explaining how I shoot with my Lensbaby Velvet 56. The first explains the lens and how I use it. The second shows the variations in results depending on which technique was used. I truly enjoy almost all of my Lensbaby products but I do have a favorite and it's the Velvet 56. I find it to be incredibly versatile and easy to use. It's lightweight and that matters more now than ever as I get older and don't want to carry a lot of gear around. I'll explain how I use extension tubes and reverse freelense with it as well! As always, reach out via the contact page if you have questions!
~~~~~~~~~~~~~~~~~~~~~~~~~~~~~~~~~~~~~~~~~~~~~~~~~~~~~~~~~~~~~~~~~~
Reverse Freelensing: A How-to Guide plus Video below!
Reverse freelensing is not for the faint of heart. The risk of dropping, damaging, or replacing your gear is real. This video shows how I got started. You can use an adapter so that your lens is reversed. Same idea. You're just not hand-holding it. If that makes you feel more comfortable, then by all means do that! If you want the option to add light flare though, you'll need to hand hold.
The idea of reverse freelensing is to create a more "macro" look with a non-macro lens. This works best with short lenses. Think 50mm or less. I love using my Lensbaby Velvet 56. It's light weight. I started with a 50mm lens bought second hand for $50. Not a bad way to learn and if I dropped it I wasn't out a few hundred dollars.
When you reverse freelense you'll set your camera settings before you start. Remember though that since you're closer than you typically are with whichever lens you choose, your depth of field will be shallower that the native settings of that lens. For example: The Lensbaby Velvet 56 has a focus distance of 5". When I reverse freelense I can get closer than 5". So I use the same aperture as when I'm not reverse freelensing I will have LESS depth of field or less in focus. If you have trouble finding focus you might want to close down a stop or two until you're comfortable.
Start inside, over a padded surface so that if you drop your lens, camera or both, the risk is minimized. Keep your subject near bright light and close to you. Starting inside also affords you the option to avoid the wind and lessen the chance of something getting on your sensor. Notice I said lessen, not eliminate. Any time you open up your camera you risk something getting on your sensor. It's probably a good idea to use one of the bulb blower things on your sensor after reverse freelensing. If your sensor needs a cleaning, that may be a good time to try reverse freelensing since you'll be taking it in for a cleaning or cleaning it yourself.
Reverse freelensing is a lot of fun once you get the hang of it. I love not having to take an extra lens when I'm headed with my camera. I can grab my Velvet 56 and shot typically or get even closer by reverse freelensing!
Questions? Reach out by using the contact page!
Use the QR code below to go to Lensbaby.com
~~~~~~~~~~~~~~~~~~~~~~~~~~~~~~~~~~~~~~~~~~~~~~~~~~~~~~~~~~~~~~~~~~~~~~~~~~~~~~~~~~~~~~~~~~~~~~~~~~~~~~~~~~~~~~~~~~~~~~~~~~~~~~~~~~~~
How to use the Lensbaby Omni Creative filter system!
In this video I will show you how to attach the Omni rings and filters to your camera and then show you how I create with a few of the products.
I created with video at a time when Lensbaby was doing an Omni give-away. The give-away is not longer in effect but because the information on how to create using the Omni Creative filter system is still relevant, I feel it important to leave the video up for you to view.
~~~~~~~~~~~~~~~~~~~~~~~~~~~~~~~~~~~~~~~~~~~~~~~~~~~~~~~~~~~~~~~~~~
Check out this video to see how to use the Omni wand products with your lenses!
